Long time no see ! Last time I published was four years ago. Since then I joined ONEKEY and most of my stuff is published on our research blog over there. I also started teaching vulnerability research and exploitation to college students here in Belgium, which is what got me to write this blog.
Since I started teaching that VR/XDEV course I stayed on the same target: Cisco RV routers. I know them inside out, there is no weird constructs and the vulnerabilities are (usually) straightforward. However, as years passed I’m always questionning whether exploiting n-days or forever-days that are 4 to 6 years old is still relevant to my students.
I recently had a chat with one of the other teacher who’s first sessions focus on hardware hacking (identifying UART, dumping memory, …) and we came to the conclusion that it may be fun to target cheap IP cameras sold around here. They mentioned they already had a Tapo C100 and were planning to use it for the memory dumping stuff. At that point, I may have said with overconfidence:
Sure, I’ll find a vuln in there so we can use it in my vuln research course too !
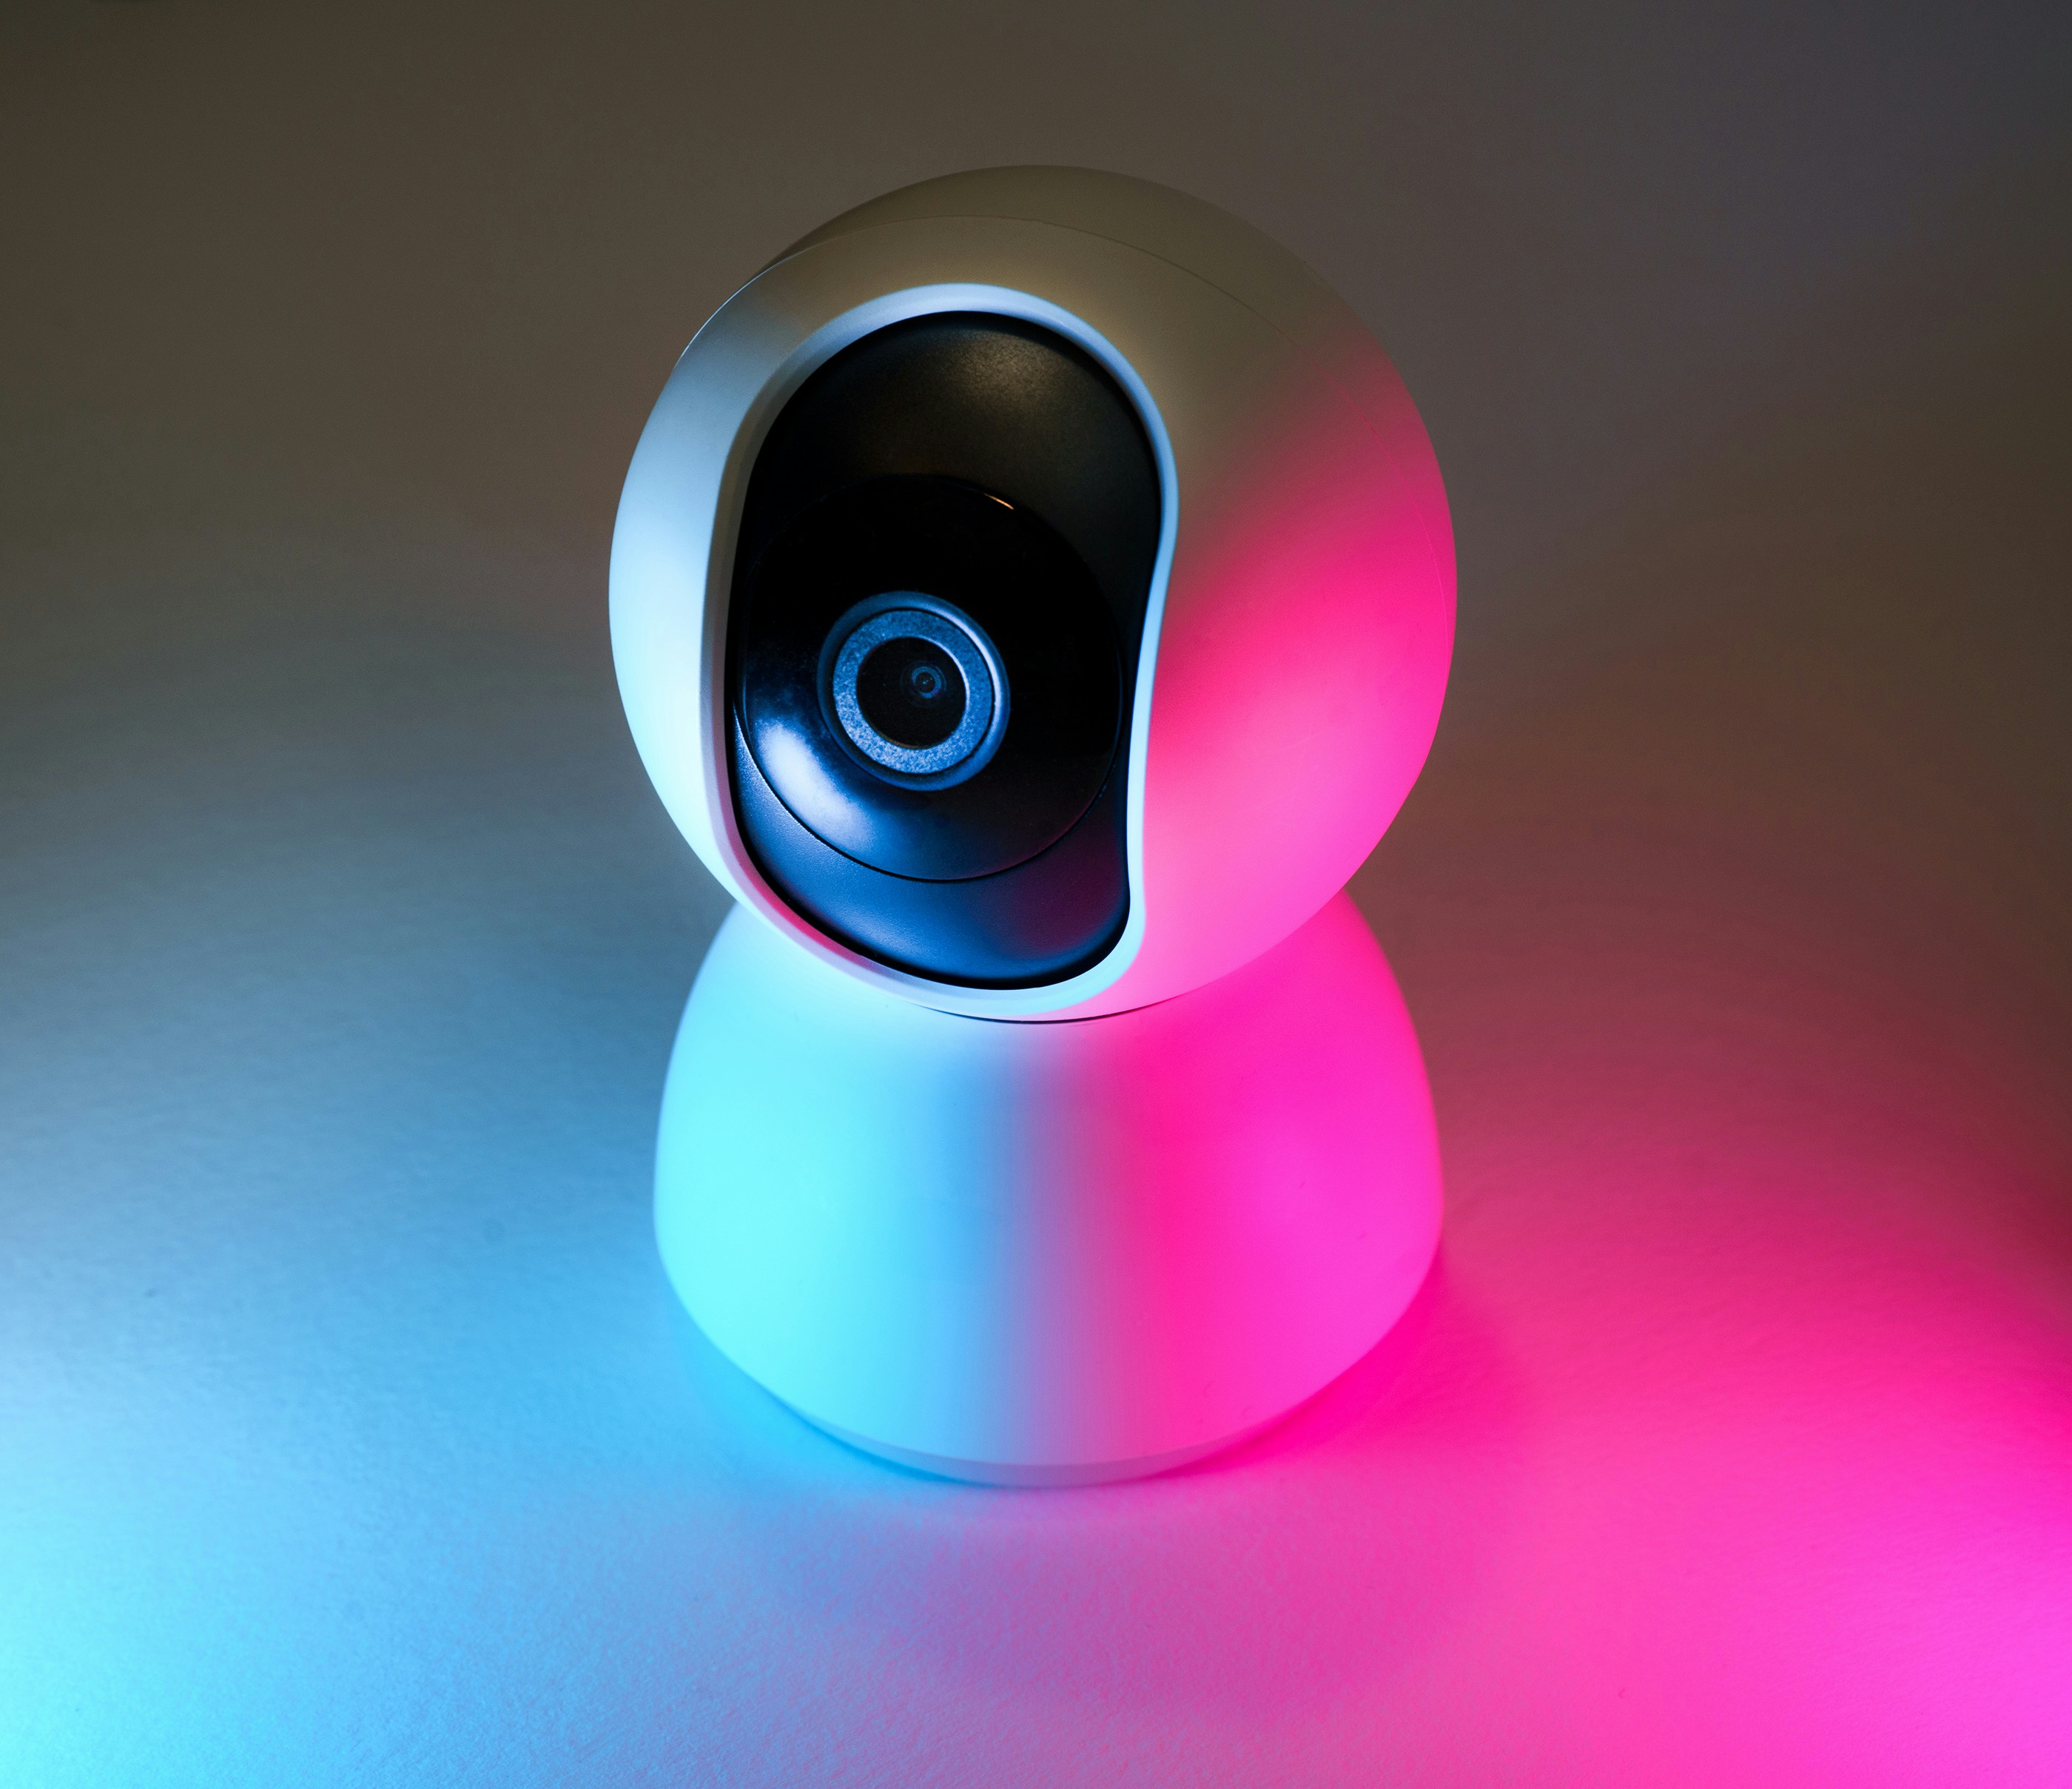
I still haven’t found interesting vulnerabilities (and would not share them here, obviously), but I got myself a Tapo C200 Rev.5 with everything I need to perform dynamic analysis. Since some folks over at the IoT Hacker Hideout are also looking at that device, I figured I would share the steps here so they can reproduce and start their own reversing adventure.
They are some interesting tidbits about TP-Link’s project management and embedded development in general. Those are left at the end of this blog.
Storage Dumping
First order of business was obtaining a shell over the serial console on that device. This is already documented by many blog posts around the Internet, the PCB has four solder pads (Vcc, GND, RX, TX) and you can connect your favorite USB-to-serial adapter to see the device serial console.
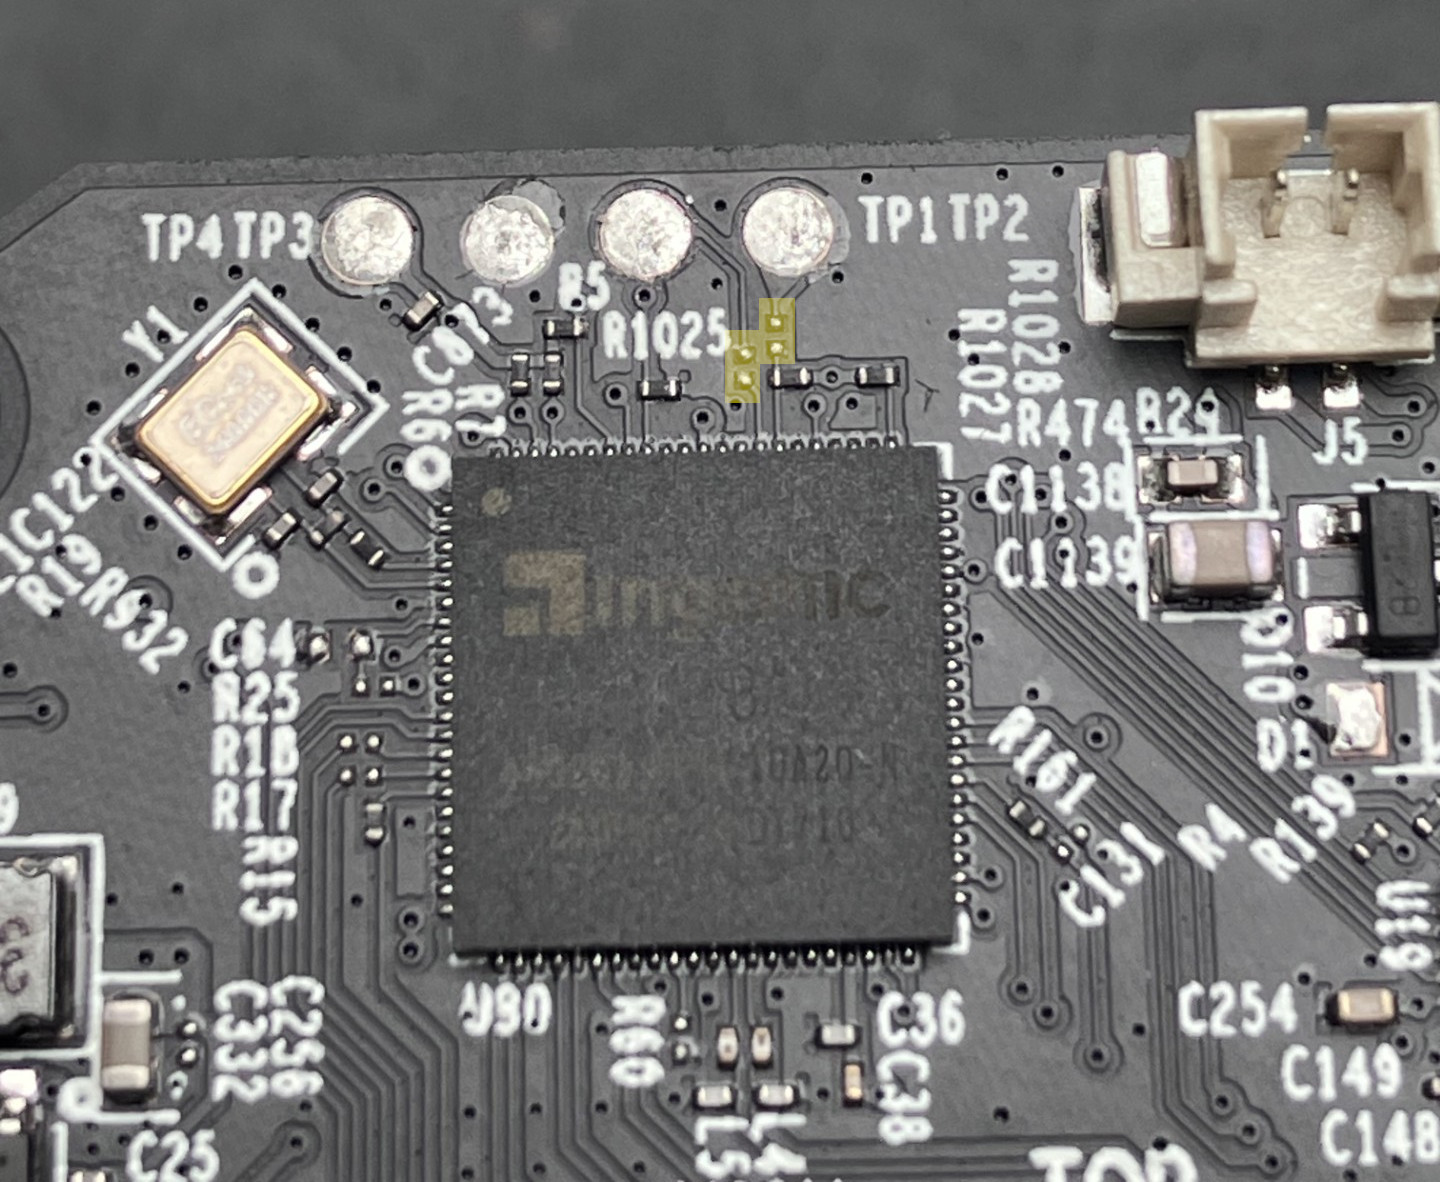
However, it seems that TP-Link is putting up all kinds of shenanigans dependending on the hardware revision. With some hardware revisions, the test pads are not connected to anything. With others, they designed the PCB to have a 0ohm resistor on lines going from RX and TX to the CPU, respectively, which they don’t populate at the factory (so that it’s not connected). That’s what they did with the C200 Rev.5 that’s sold in EU. It’s not a big issue since you can simply connect probes on the resistor pad closest to the CPU, on the CPU itself, or solder a resistor, or a wire to make those lines live again. The fact that TP-Link chose to spend money on hardware re-design rather than simply disabling UART on the software side is “interesting”.
Once your adapter is connected to the UART port, you can do two things:
- access the bootloader by typing
slpwhen U-Boot shows up - be greeted with a Linux login prompt for which we don’t know the password
Dumping the NOR Flash over SPI is a possibility, but you need to desolder it first because of how the PCB is designed. Basically if you power the flash you somehow also power things on the board that tries to talk to the flash. That cross-talks makes any kind of in-system dumping impossible.
I’m lazy and I don’t want to power on my heat gun so I decided to dump the NOR flash through the U-Boot prompt. Let’s put a large enough SD-Card without any kind of partition table on it and dump the flash to it:
sf probe
sf read 0x80600000 0x0 0x000000800000
mmc write 0x80600000 0 16384
Note: Interestingly, TP-Link is slowly removing commands from their U-Boot binaries. In the past the bootcmd was editable, now it’s hardcoded in the binary but the bootargs are still editable. They also removed some commands related to mmc.
Now we can remove the SD-Card, put it into our computer and dump the 8MB of that NOR flash to a file:
dd if=/dev/mmcblk0 of=/tmp/dump.bin bs=1024 count=8192 status=progress
The memory mapping is visible in the boot logs so we know where to look at:
[    0.581072] MTD_REDBOOT_TP_HEADER_ADDRESS:0x70000
[    0.591504] decrypt_rootfs_header done
[    0.595389] Searching for RedBoot partition table
[    0.600273] 16 RedBoot partitions found on MTD device jz_sfc
[    0.606158] Creating 16 MTD partitions on "jz_sfc":
[    0.611227] 0x000000000000-0x00000002d800 : "factory_boot"
[    0.616905] mtd: partition "factory_boot" doesn't end on an erase block -- force read-only
[    0.625966] 0x00000002d800-0x000000030000 : "factory_info"
[    0.631694] mtd: partition "factory_info" doesn't start on an erase block boundary -- force read-only
[    0.641764] 0x000000030000-0x000000040000 : "art"
[    0.647142] 0x000000040000-0x000000050000 : "config"
[    0.652795] 0x000000050000-0x000000070000 : "normal_boot"
[    0.658877] 0x000000070200-0x0000001b0000 : "kernel"
[    0.664066] mtd: partition "kernel" doesn't start on an erase block boundary -- force read-only
[    0.673561] 0x0000001b0000-0x0000003d0000 : "rootfs"
[    0.679182] 0x0000003d0000-0x000000770000 : "rootfs_data"
[    0.685313] 0x000000770000-0x0000007f0000 : "user_record"
[    0.691437] 0x0000007f0000-0x000000800000 : "verify"
[    0.697077] 0x000000070000-0x000000770000 : "firmware"
[    0.702945] 0x000000000000-0x000000800000 : "uitron"
[    0.708566] 0x000000000000-0x000000800000 : "uitron_ext"
[    0.714622] 0x000000000000-0x000000800000 : "ld"
[    0.719906] 0x000000000000-0x000000800000 : "isp"
[    0.725348] 0x000000030000-0x000000800000 : "af"
[    0.730602] SPI NOR MTD LOAD OK
I wrote that dumb python script to cut the dump into each partition:
#!/usr/bin/env python3
import sys
import io
from pathlib import Path


MTD_PARTITIONS = {
    "factory_boot": (0x000000000000, 0x00000002d800),
    "factory_info": (0x00000002d800, 0x000000030000),
    "art": (0x000000030000, 0x000000040000),
    "config": (0x000000040000, 0x000000050000),
    "normal_boot": (0x000000050000, 0x000000070000),
    "kernel": (0x000000070200, 0x0000001b0000),
    "rootfs": (0x0000001b0000, 0x0000003d0000),
    "rootfs_data": (0x0000003d0000, 0x000000770000),
    "user_record": (0x000000770000, 0x0000007f0000),
    "verify": (0x0000007f0000, 0x000000800000),
    "firmware": (0x000000070000, 0x000000770000),
}


with open(sys.argv[1], 'rb') as f:
    for name, offsets in MTD_PARTITIONS.items():
        start_offset, end_offset = offsets
        f.seek(start_offset, io.SEEK_SET)
        print(f"[+] dumping {name}")
        outpath = Path(f"{sys.argv[2]}/{name}.bin")
        outpath.write_bytes(f.read(end_offset-start_offset))
We can check what’s stored in each partition by running file:
file *
art.bin:          data
config.bin:       data
factory_boot.bin: data
factory_info.bin: data
firmware.bin:     data
kernel.bin:       u-boot legacy uImage, mips Ingenic Linux-3.10.14, Linux/MIPS, OS Kernel Image (lzma), 1308335 bytes, Tue Jun 10 06:02:16 2025, Load Address: 0X80010000, Entry Point: 0X80324680, Header CRC: 0X7DD08F79, Data CRC: 0XE46DD18D
normal_boot.bin:  u-boot legacy uImage, u-boot-lzma.img, Firmware/MIPS, Firmware Image (lzma), 66793 bytes, Tue Jun 10 05:59:40 2025, Load Address: 0X820A0000, Entry Point: 00000000, Header CRC: 0X8F6E0DCB, Data CRC: 0X5D9264E5
rootfs.bin:       data
rootfs_data.bin:  Squashfs filesystem, little endian, version 4.0, xz compressed, 3367728 bytes, 119 inodes, blocksize: 65536 bytes, created: Tue Jun 10 06:02:34 2025
user_record.bin:  Linux jffs2 filesystem data little endian
verify.bin:       data
What’s interesting is that the root filesystem (rootfs.bin) does not seem to be a filesystem. On top of that, the boot logs are sus:
[ 0.591504] decrypt_rootfs_header done
Let’s try to understand what’s going on.
Reversing Filesystem Encryption
We have a string to look for (decrypt_rootfs_header) and a valid kernel image for which we know the load address (0x80010000). It’s just a matter of loading it into Ghidra with the right architecture (MIPS:LE:32) and load address. I know about vmlinux-to-elf, it just don’t always work.
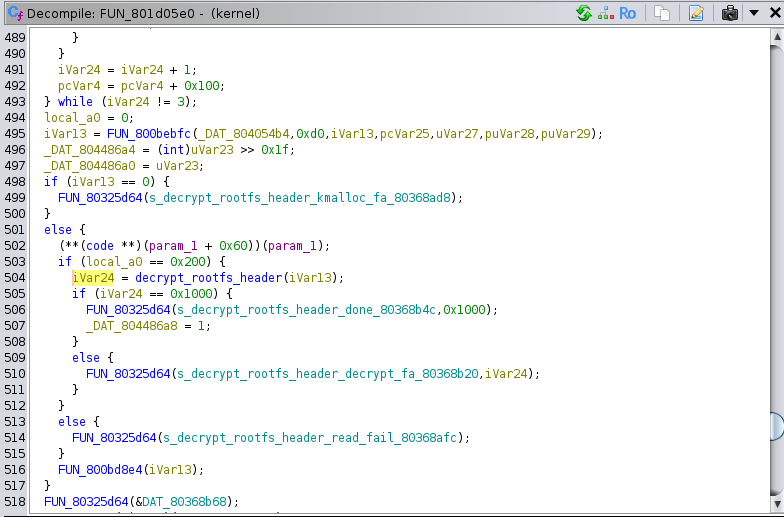
Looking into that function, we can see the following (variables and functions have been renamed manually):
I’ll spare the details but basically the first 512 bytes of the rootfs are encrypted using AES-128-CFB1 with a key and IV hardcoded in the kernel.
s_TP_LINK88i667gnt_803ba194                     XREF[1]:     decrypt_rootfs_header:801d0550(*
        803ba194 54 50 5f        ds         "TP_LINK88i667gnt"
                 4c 49 4e
                 4b 38 38
        803ba1a5 00              ??         00h
        803ba1a6 00              ??         00h
        803ba1a7 00              ??         00h
This was confirmed by downloading TP-Link GPL archive for the Tapo C200. By looking into NVMP/sdk/soc/T23/linux-3.10.14/drivers/mtd/redboot.c, you’ll see the following:
static unsigned char AES_CFB1_key[] = CONFIG_ENCRYPT_ROOTFS_KEY;

static unsigned char AES_CFB1_iv[] =
{
	0x55, 0xAA, 0xDE, 0xAD, 0xC0, 0xDE, 'L', 'I',
	'N', 'U', 'X', 'E', 'x', 'T', 0xAA, 0x55,
};
The IV never changes from product to product or version to version, but the key does change. Searching for strings starting with TP_LINK in the kernel image always brings a single result. Just saying.
Let’s confirm our hypothesis here by decrypting the first 512 bytes:
dd if=out/rootfs.bin bs=512 count=1 | openssl enc -aes-128-cfb1 -d -nosalt -nopad -K 54505f4c494e4b383869363637676e74 -iv 55aadeadc0de4c494e5558457854aa55 | hexdump -C
1+0 records in
1+0 records out
512 bytes copied, 2,2374e-05 s, 22,9 MB/s
00000000  68 73 71 73 c4 01 00 00  78 ca 47 68 00 00 01 00  |hsqs....x.Gh....|
00000010  0b 00 00 00 04 00 10 00  c0 06 01 00 04 00 00 00  |................|
00000020  81 1c a6 06 00 00 00 00  a0 af 21 00 00 00 00 00  |..........!.....|
00000030  98 af 21 00 00 00 00 00  ff ff ff ff ff ff ff ff  |..!.............|
We got the hsqs magic from a squashfs filesytem, looks good ! So if you only want to extract the filesystem you can do the conversion in place like so:
dd if=out/rootfs.bin bs=512 count=1 | openssl enc -aes-128-cfb1 -d -nosalt -nopad -K 54505f4c494e4b383869363637676e74 -iv 55aadeadc0de4c494e5558457854aa55 | dd of=out/rootfs.bin bs=512 count=1 conv=notrunc
You’ll be left with a valid SquashFS filesystem you can extract with sasquatch or unsquashfs.
Firmware Modding
What I want is the ability to have a remote root shell on the device so that I can perform dynamic analysis and dig deeper into the device internals. To do that I need to:
- change the root password
- launch a bind shell or reverse shell somehow
The thingino hijackers script did that by emptying the root password and launching a telnet server during init. However, the system has been stripped down to the bare minimum. Telnet, dropbear, ssh, openssl, curl, wget, all the usual suspects are gone. So I simply reverted to good old msfvenom to build a bind shell and put it on the filesystem.
So in the middle of the night I created this monstrosity of a bash script that creates a modded version of the flash. It sets the root password to one of your choosing, place the bindshell in /usr/sbin and modify an init file to launch it on boot:
BLOCK_SIZE=512
ROOTFS_START_OFFSET=0x0000001b0000
ROOTFS_END_OFFSET=0x0000003d0000
ROOTFS_SIZE=$(( ROOTFS_END_OFFSET - ROOTFS_START_OFFSET ))
TMP_FILE=$(mktemp)

dd if="$1" bs="${BLOCK_SIZE}" skip=$((ROOTFS_START_OFFSET / BLOCK_SIZE)) count=1 status=none| openssl enc -aes-128-cfb1 -d -nosalt -nopad -K 54505f4c494e4b383869363637676e74 -iv 55aadeadc0de4c494e5558457854aa55 > "${1}.rootfs.head"

REPACKED_IMG="${1}.repacked"
PLAIN_SQUASHFS="${1}.root.squashfs"
MOD_PLAIN_SQUASHFS="${1}.root.squashfs.mod"

cp "${1}" "${REPACKED_IMG}"
dd if="${1}.rootfs.head" of="${REPACKED_IMG}" bs="${BLOCK_SIZE}" seek=$((ROOTFS_START_OFFSET / BLOCK_SIZE)) conv=notrunc status=none
dd if="${REPACKED_IMG}" of="${PLAIN_SQUASHFS}" bs="${BLOCK_SIZE}" skip=$((ROOTFS_START_OFFSET / BLOCK_SIZE)) count=$((ROOTFS_SIZE / BLOCK_SIZE)) status=none

rm -rf squashfs-root
unsquashfs  -quiet "${PLAIN_SQUASHFS}"

NEW_PASSWORD=$(openssl passwd -1)
sudo usermod --root "${PWD}/squashfs-root" --password "${NEW_PASSWORD}" root

./msfvenom -p linux/mipsle/shell_bind_tcp LHOST=0.0.0.0 LPORT=4444 -f elf -o squashfs-root/usr/sbin/bindshell
echo "/usr/sbin/bindshell&" >> squashfs-root/etc/init.d/rcS

sudo rm squashfs-root/etc/.pwd.lock
rm -f "${MOD_PLAIN_SQUASHFS}"
mksquashfs squashfs-root "${MOD_PLAIN_SQUASHFS}" -quiet -comp xz


echo "[+] zeroing out the rootfs section"
dd if=/dev/zero obs=$((BLOCK_SIZE)) bs=$((BLOCK_SIZE)) seek=$((ROOTFS_START_OFFSET / BLOCK_SIZE)) count=$((ROOTFS_SIZE / BLOCK_SIZE)) of="${REPACKED_IMG}" conv=notrunc status=none

echo "[+] writing modified squashfs"
dd if="${MOD_PLAIN_SQUASHFS}" bs="${BLOCK_SIZE}" count=1 status=none| openssl enc -aes-128-cfb1 -e -nosalt -nopad -K 54505f4c494e4b383869363637676e74 -iv 55aadeadc0de4c494e5558457854aa55 | dd of="${REPACKED_IMG}" bs=$((BLOCK_SIZE)) seek=$((ROOTFS_START_OFFSET / BLOCK_SIZE)) conv=notrunc status=none
dd if="${MOD_PLAIN_SQUASHFS}" bs=$((BLOCK_SIZE)) obs=$((BLOCK_SIZE)) skip=1 seek=$(((ROOTFS_START_OFFSET + BLOCK_SIZE) / BLOCK_SIZE)) of="${REPACKED_IMG}" conv=notrunc status=none

rm -f "${PLAIN_SQUASHFS}"
rm -f "${MOD_PLAIN_SQUASHFS}"
rm -f "${MOD_SQUASHFS}"
rm "${1}.rootfs.head"
Then I can dump the repacked image to my SD-Card:
sudo dd if=dump.bin.repacked of=/dev/mmcblk0 status=progress
Put the SD-Card on the camera, jump to the bootloader console and write the SD-Card content onto the flash:
mmc read 0x80600000 0 4000
sf update 0x80600000 0 800000
Seriously the differences in numbers representation between the sf and mmc is what confused me the most. Both interpret input as hexadecimal integers, but the first counts in blocks while the other counts in bytes. Everytime I do that I need to learn U-Boot again…
Then we can boot (using U-Boot like below), or reset the device by unplugging the power cord:
sf probe; sf read 0x80600000 0x70200 0x200000
bootm 0x80600000
Once the device has done booting, you can login with the password that you entered when running the modding script. You’ll be greeted with this wonderful motd:
But now the good thing is that there is a listener on port TCP/4444 waiting for you to get your bindshell. We can put the PCB back in its plastic shell, put the screws back and hack away from the comfort of our desk.
Conclusion
Gaining that kind of access is always a good step forward when doing vulnerability research on embedded devices. Now that we have remote root access we can install our debug tools (gdbserver), network listeners (tcpdump) and others (strace) to understand what makes the device tick.
Hopefully I’ll find something exploitable by the time my course starts again in Autumn 🤞
I mentioned TP-Link product management in the beginning and I think there’s a few interesting things to note:
- Initially, the device had a dedicated binary for each network service being exposed (i.e. one for ONVIF, another for web management, a cloud client, …). Now everything has been merged into one big binary named
main. I don’t understand what’s the benefit of spending so many engineering hours (we’re probably talking weeks or months) trying to merge different code bases, putting them in threads, resolving conflicts and race conditions to ship everything in a big binary that’s probably harder to debug or fix now. This is something we see with other camera vendors like Hikvision and Dahua and I never really understood it. If you know more about this let me know. - Multiple vulnerabilities have been identified in Tapo cameras since their release, including memory corruptions. From version to version we see that there are efforts being made by TP-Link to limit the use of insecure functions but up to this day, none of the binary hardening techniques (
NX,Stack Canary,PIE/ASLR,RELRO) have been activated on these binaries. Like right now the stack of thatmainbinary is mapped as executable. It’s such an easy win to enable all of these and would make our life much harder. Like point 1, it looks to me like a misallocation of resources. - TP-Link is constantly adding encryption layers at different locations: the firmware updates are encrypted with AES-128-CBC using a key that’s actually the random RSA-PSS salt obtained by verifying a signature using an RSA public key encoded using Microsoft CryptoAPI format. The root filesystem is encrypted using AES-128-CBF1 using a hardcoded key and IV. The configuration files are encrypted with hardcoded keys. There’s also TDP running on UDP/20002 that implements some kind of “secure transfer” where client sends its public key and the server answers with a key encrypted with the public key and sensitive content encrypted with said key; all the while accepting any public key from anyone on the same network. It looks like everyone is doing busy work over there adding layers on layers on layers of obfuscation with no added security in sight.